 搭建Interactsh DNSLog服务
# 前言
因为觉得interactsh好用,而且开源,所以就自己搭建了一波。
interactsh 是为nuclei打造的dnslog服务。
官方Web地址https://app.interactsh.com/
其实最好用的是这个https://github.com/Buzz2d0/Hyuga
对比interactsh支持DNS重绑定。
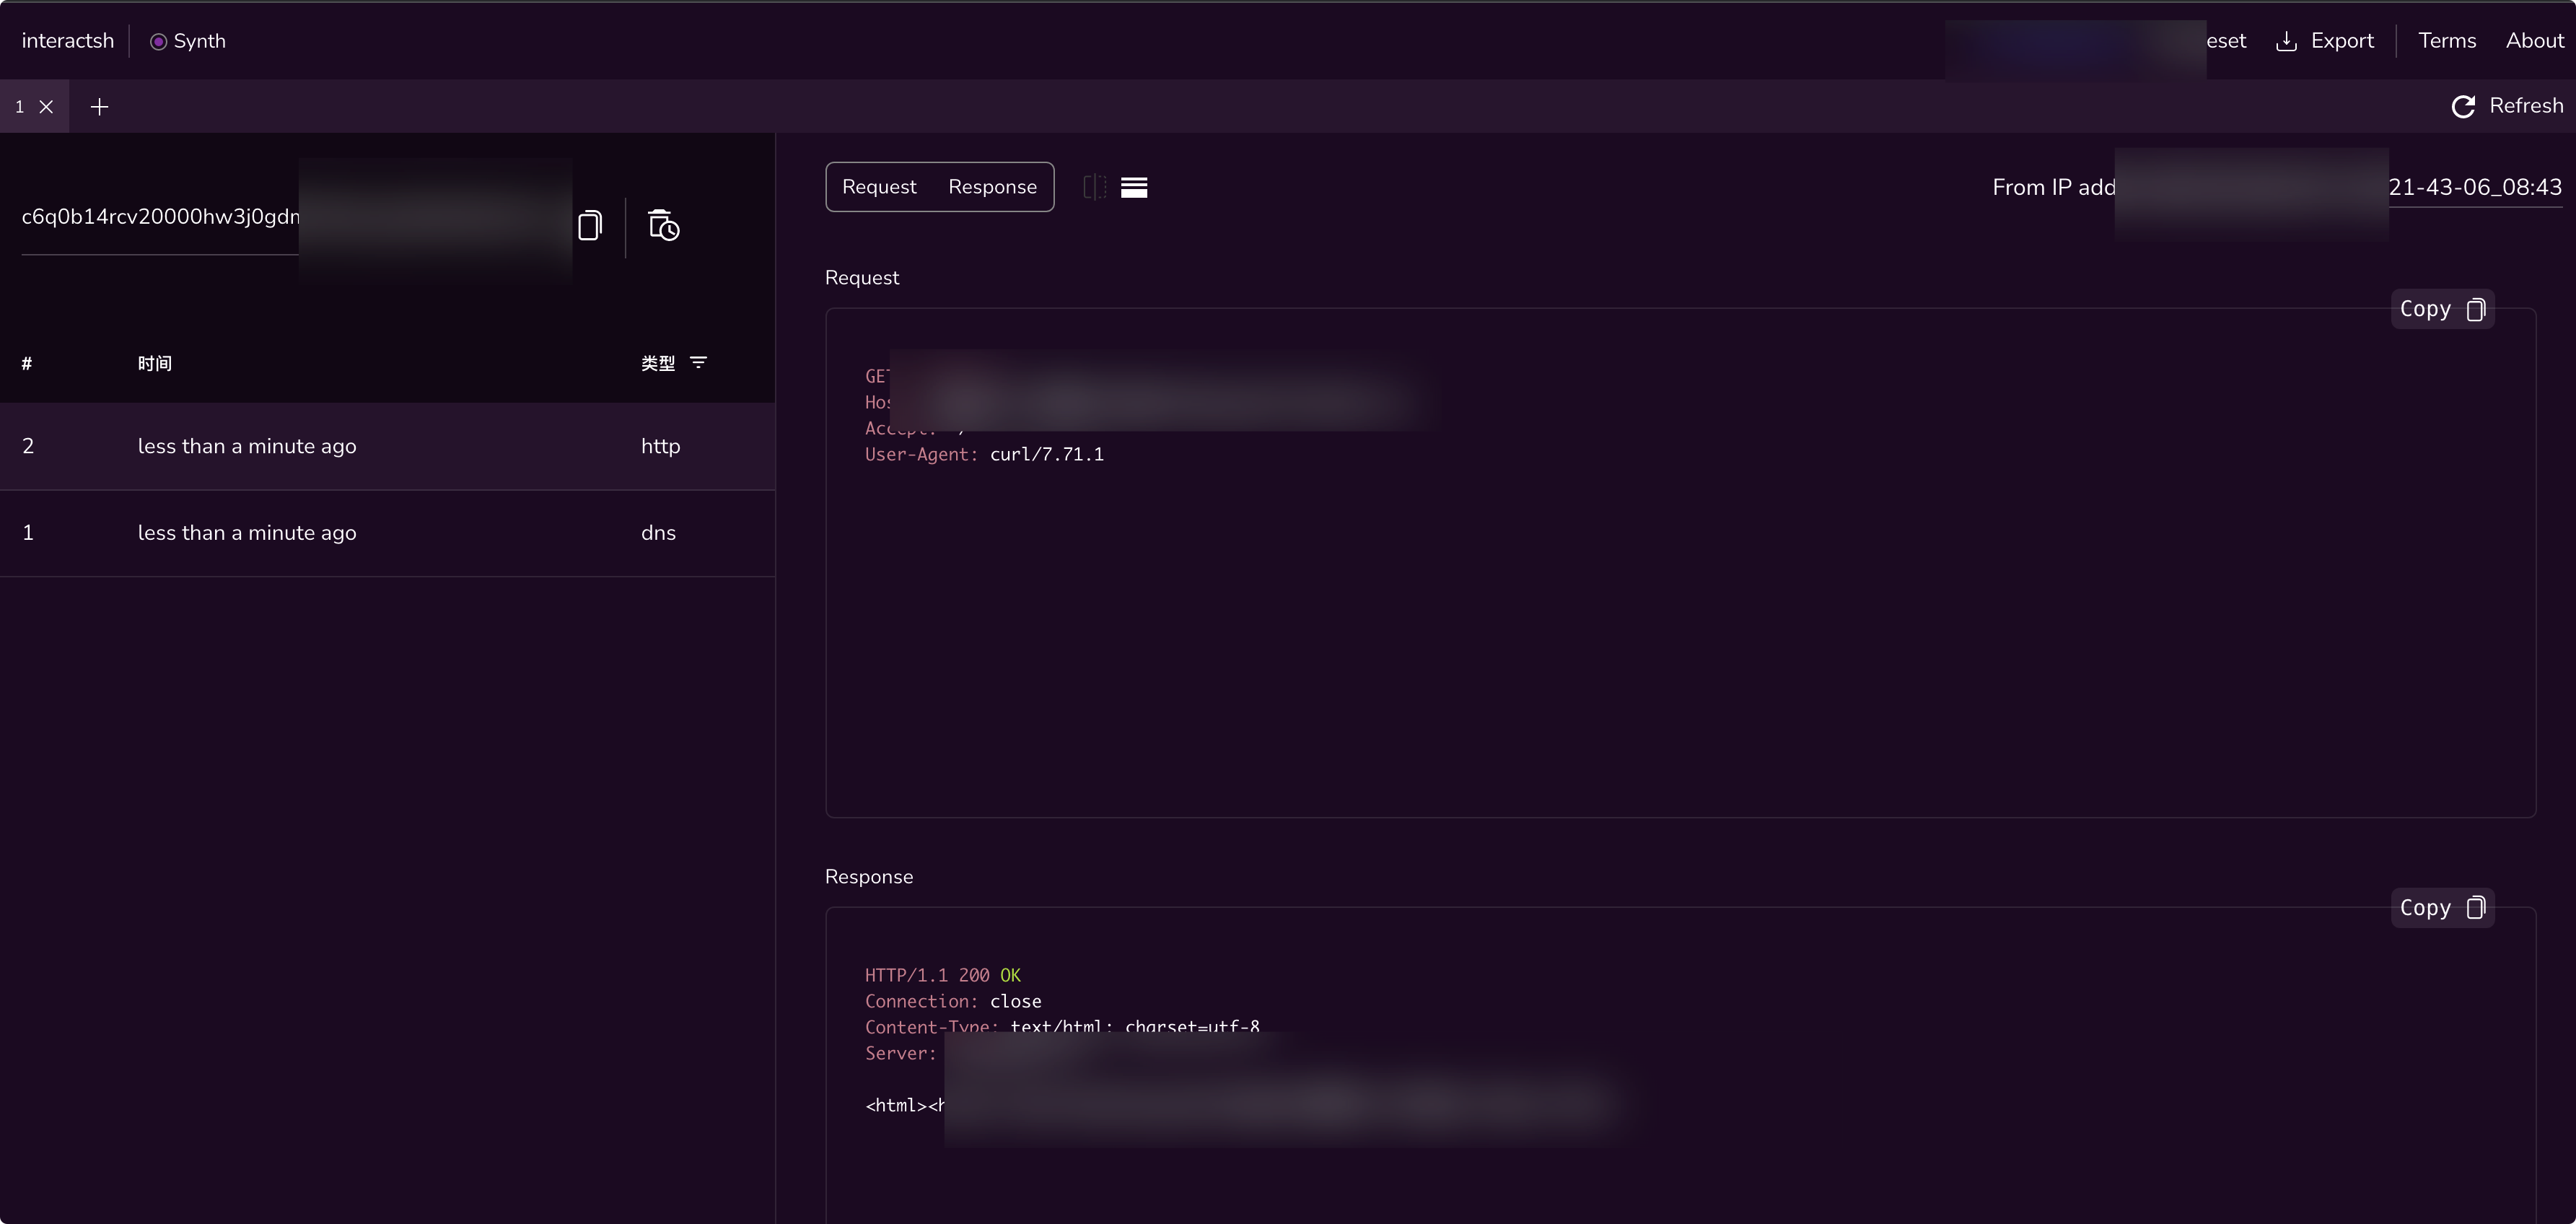
# 效果

# 搭建步骤
准备两个域名A和B,一台ECS,官方是一个,但是改dns服务器容易出问题,直接解析不到。
A的设置:

B的设置

A域名就是用来做dnslog的域名。
在VPS上执行:
docker run --net=host projectdiscovery/interactsh-server:latest -domain A -ip vpsip -origin-url https://web访问的域名
1
origin-url这个参数是给前端验证用的,同源策略,建议设置成*,这样的话本地也能用。

会自动帮你申请https证书,但是需要注意,每天只能三次,超过就只能http。
记得停掉这个服务
systemctl stop systemd-resolved
1

这样就说明搭建成功了。
接下来是前端的搭建。
https://github.com/projectdiscovery/interactsh-web
将interactsh.com改为自己的域名就行。https要不要换成http取决于自己的服务是否配成功了https。
yarn
yarn build
1
2
2
将静态文件传到github,这里推荐用github page作为Web服务,非常方便。
比如https://redtools.redteaming.net/

# 辅助脚本
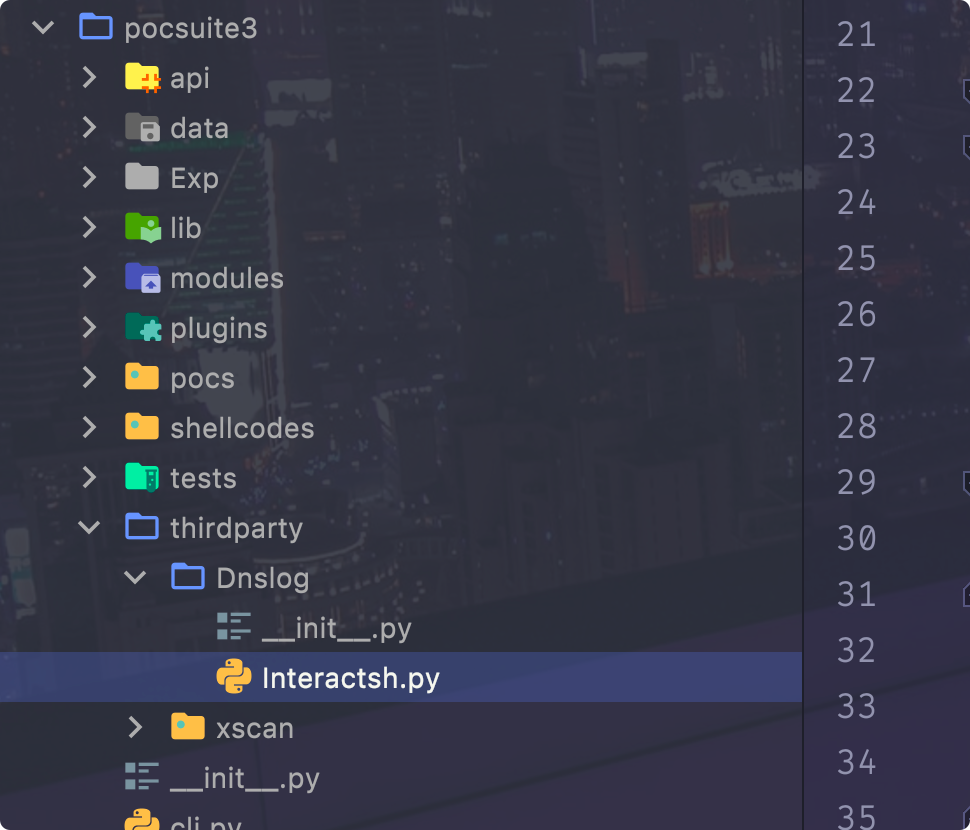
最后再分享下我的Dnslog验证脚本

https://github.com/XTeam-Wing/Py-Interactsh

